How to – NFT PFP Maker
Welcome to our tutorial on how to get started with the Chain Champs PFP Maker. We’ll take you through the steps required to get your first project setup, minted, and in the hands of NFT buyers. Whether you’re creating unique digital NFT art, or randomly generated items for your NFT game – it doesn’t matter, the journey from start to finish will be the same.
Intro
Before we start creating your NFT collection, there is one thing you need. A WAX wallet.
While you don’t necessarily need to mint to WAX (we strongly encourage it), you do need a WAX wallet to get started. The wallet is used to allow creators to login and save their work, it’s possible we’ll add other forms of authentication in the future though.
Creating a Project
Prior to creating a project, you’ll be asked to sign a transaction with your wallet. This transaction is not broadcast to the WAX blockchain, and is strictly used to authenticate the user.
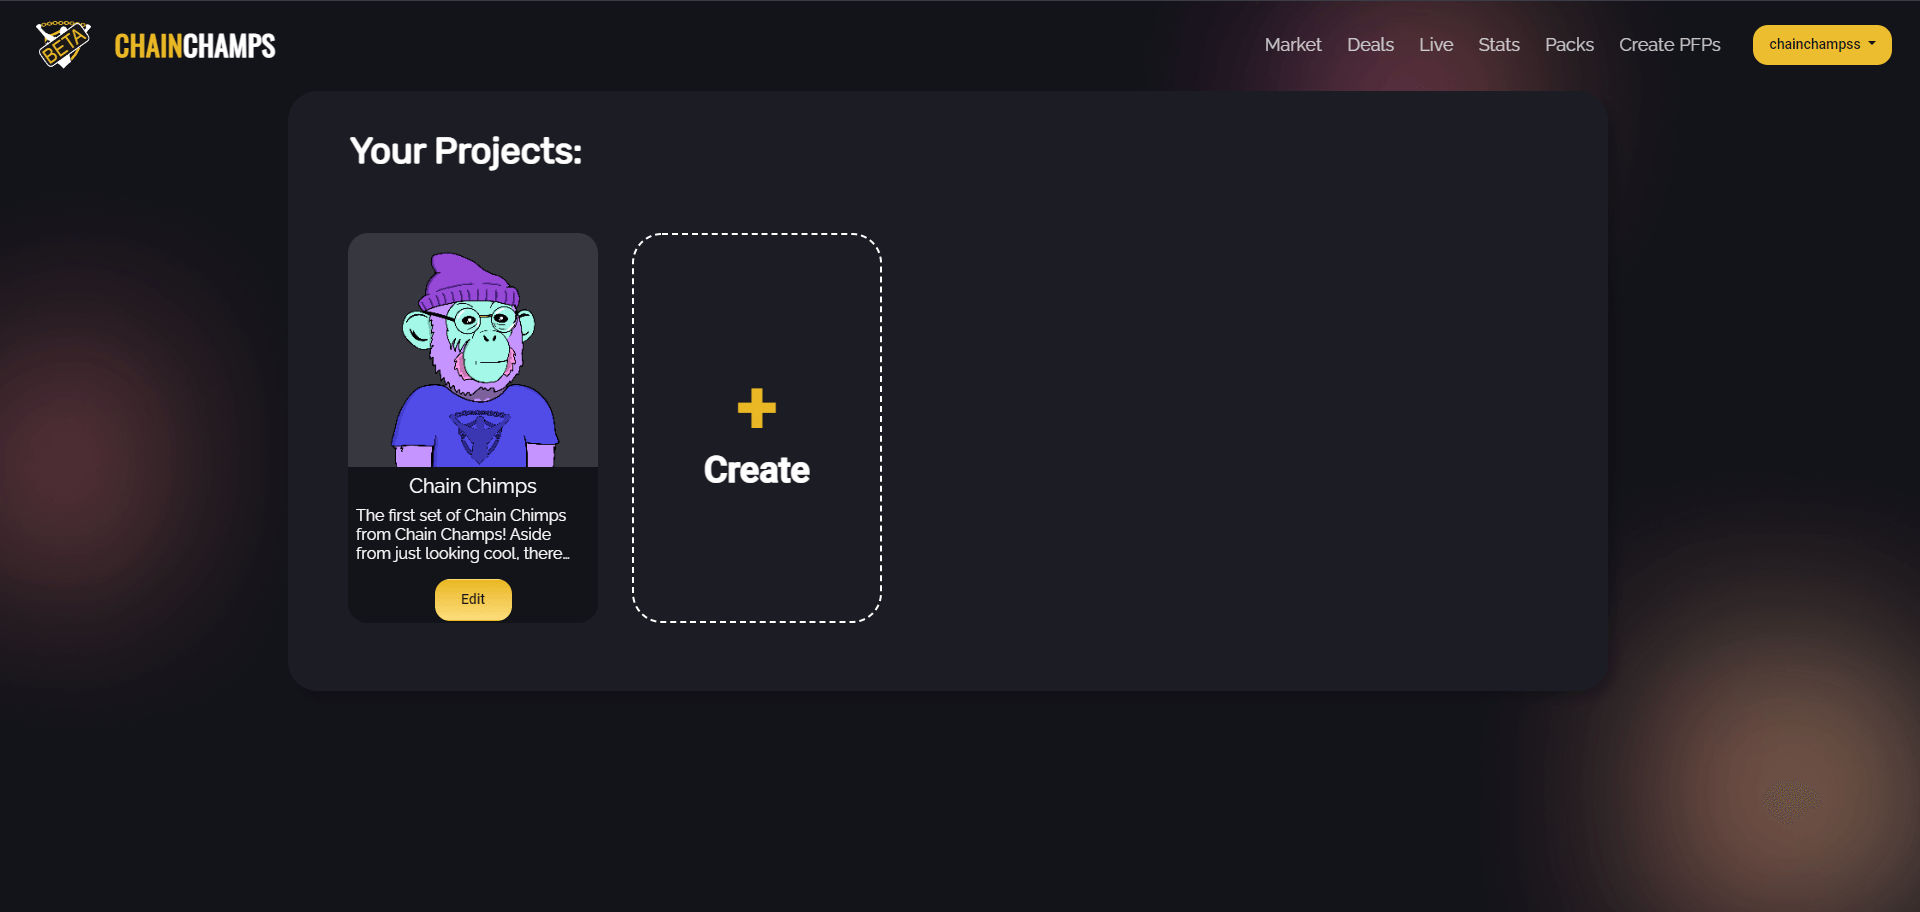
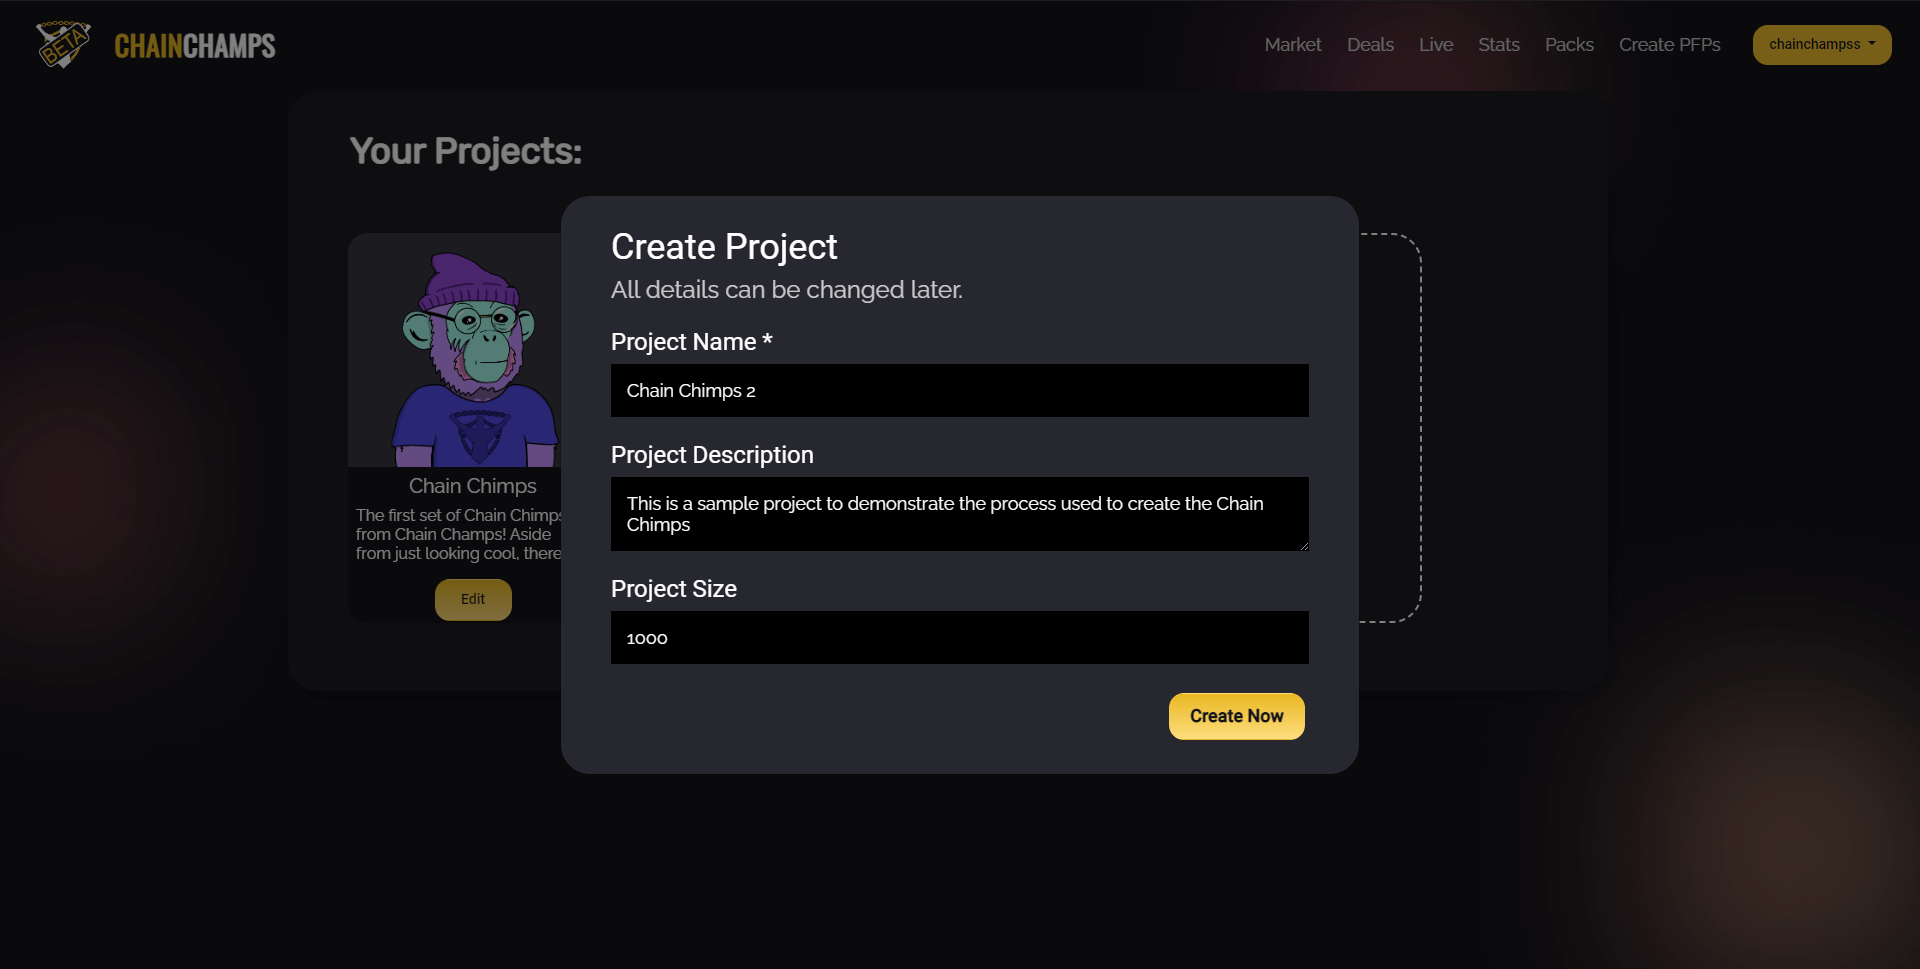
From there, click the “Create” button. You’ll be able to setup some basic information about your project. Only the “Project Name” is required, and all values can be changed later.
For example, you don’t actually need to know how many PFPs you want to create. The “Project Size” can be changed and altered whenever you want.
Layers
When you setup a new project, you’ll start with a mostly blank canvas. By default, there will only be one layer, “Background”. You can change this layers name, but we encourage keeping it around.
The names of layers will be used in the metadata for the profile pictures you generate. Pick the names carefully, this means they will likely show up as information the NFT marketplace that they’re sold on.
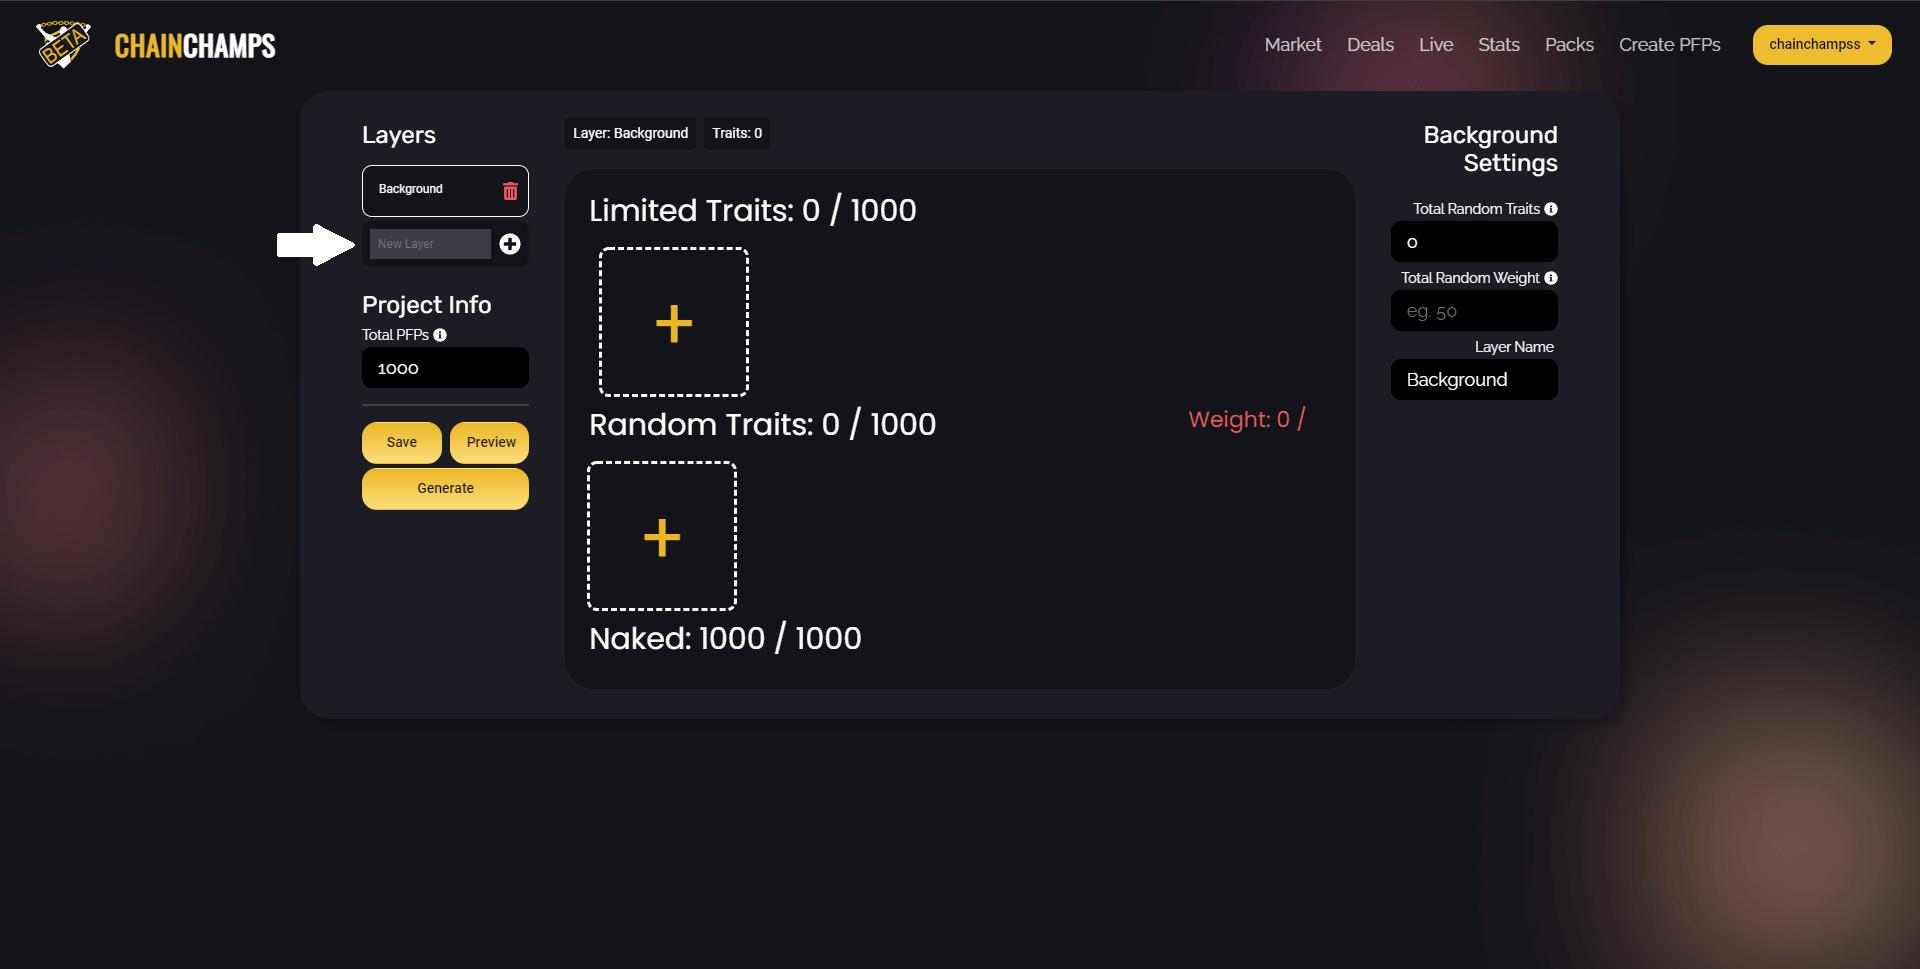
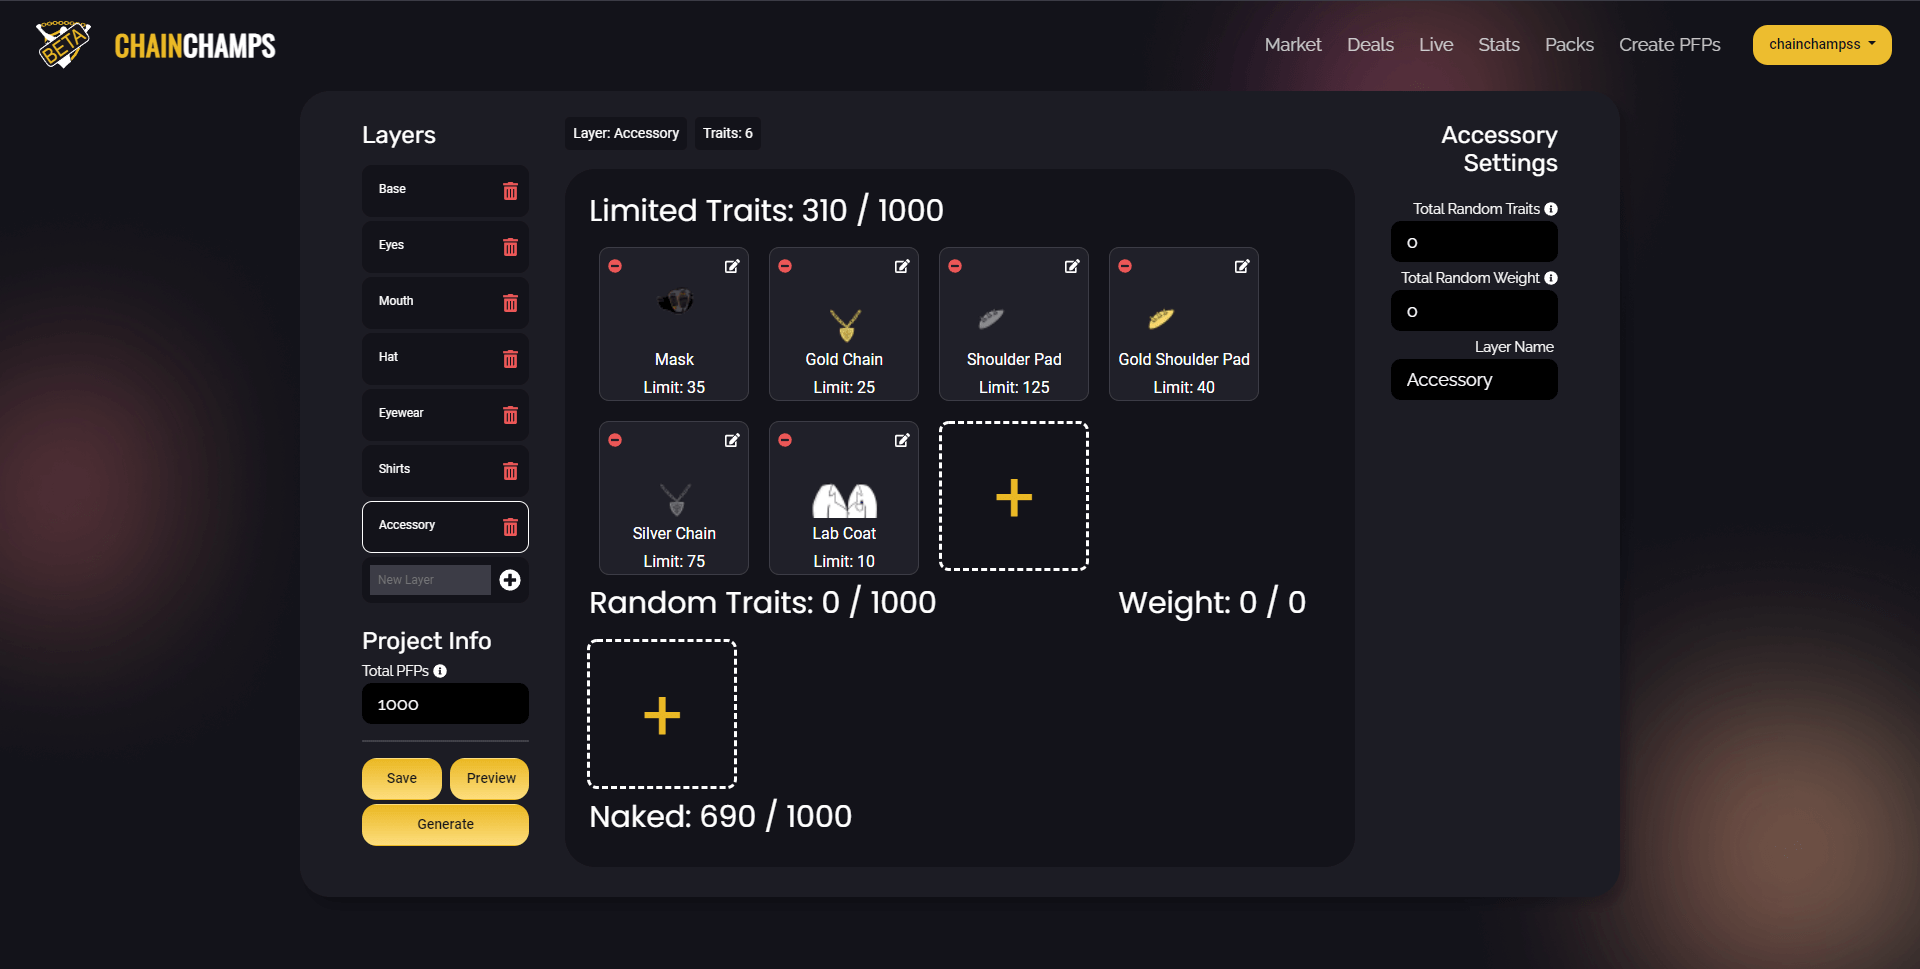
After you generate your PFPs, each layer will contribute one trait to the final image and each layer will be drawn in order. In the case of Chain Chimps, they’re drawn from Base -> Accessory.
Traits
These are the random elements that define what your project will look like. There are a lot of options and we’re going to do our best to break down how they work. Some options will be better suited for creating projects where each element is completely unique. Other options will be better suited for projects that just want to create random NFTs.
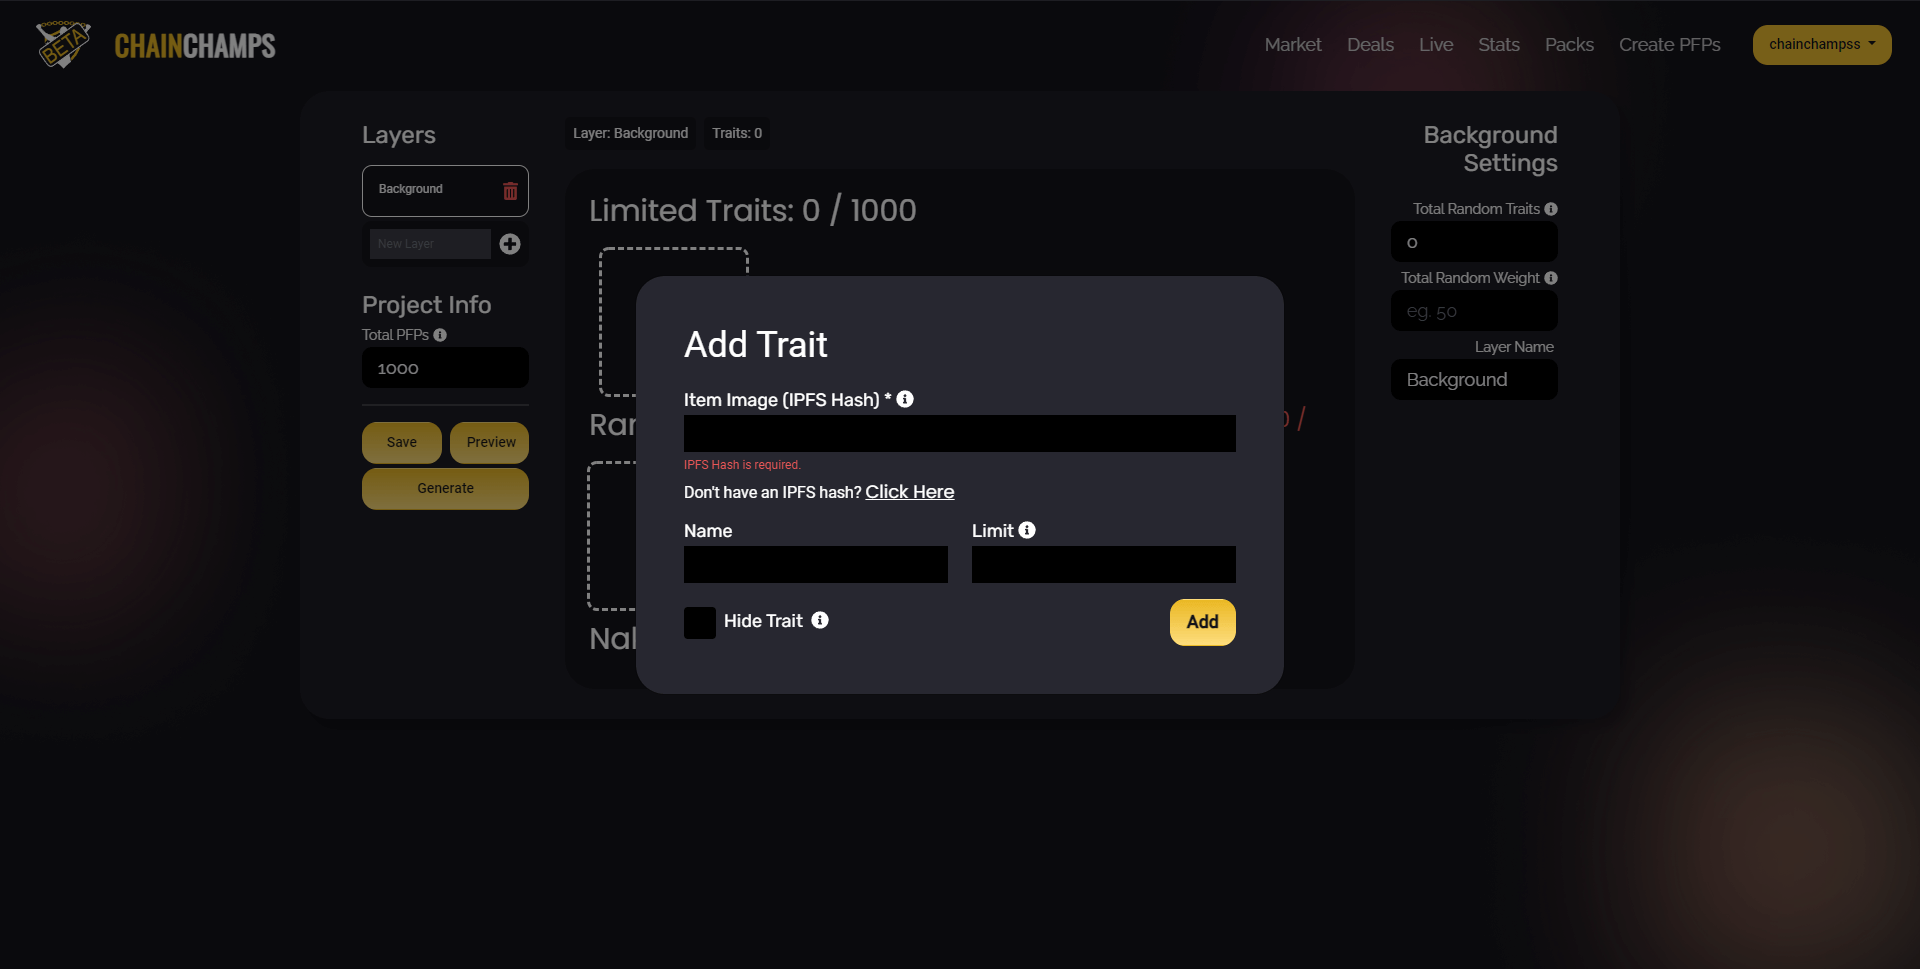
All traits come with two required fields, and one optional field:
- Item Image (IPFS Hash) – In order to provide us with your images, you’ll need to upload them to an IPFS pinning service like Pinata. Each image you upload will be given a CID, copy and paste that into this field.
- Name – While this should be self-explanatory, remember, this name will show up on all NFTs minted with this trait.
- Hide Trait – The last point wasn’t entirely true. If you choose to “Hide Trait”, the name will NOT show up on minted NFTs. This can be used to keep certain elements secret, if you want users to discover certain things themselves.
Limited Traits
Every limited trait created will require a “Limit”. In this case, you’re defining how many of this trait are guaranteed to appear in your project.
Random Traits
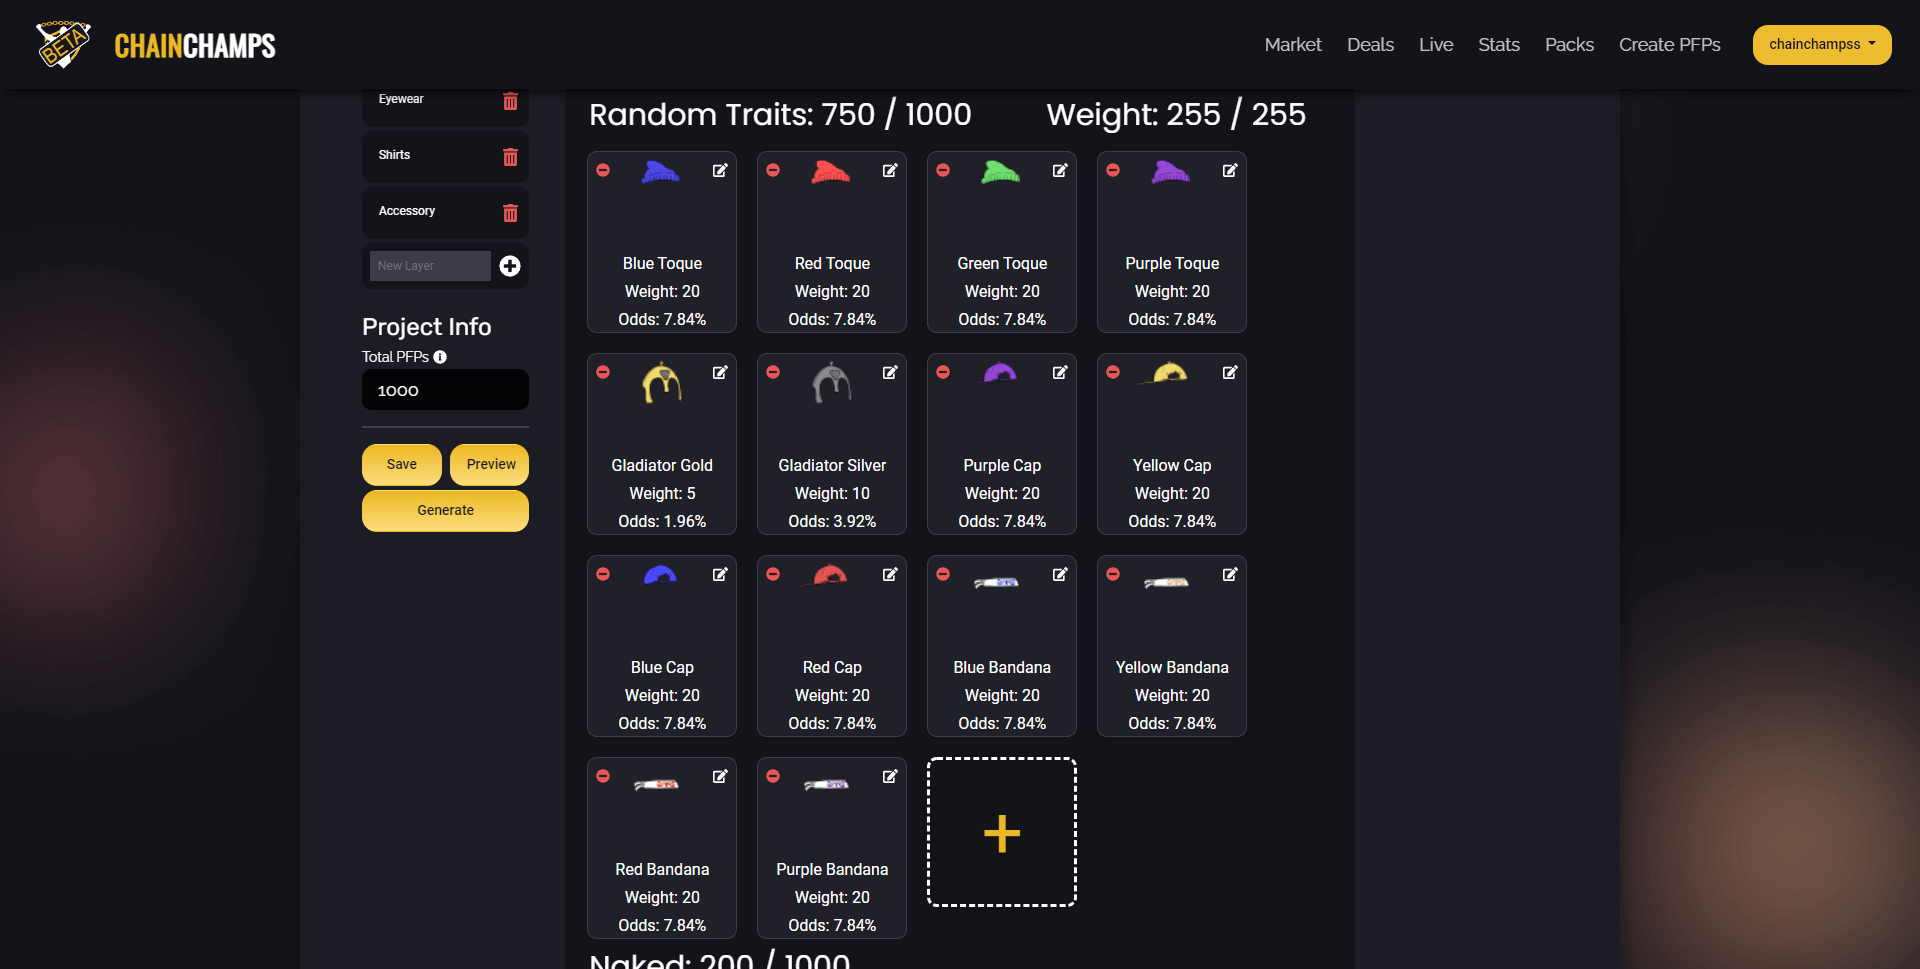
These traits are a little bit more complicated, although there is only one unique field, “Weight”. Random weight is relatively straight forward.
Let’s say your layer is going to have 5 traits. If you give all of those traits the same weight, each random trait will have an equal chance of being selected. For the sake of this example, let’s say we assign a weight of 25 to each trait.
To make an element more common, we increase its weight. So, if we want an element to be twice as common as any other trait, we could increase the weight to 50, making the weights of our five traits – 50, 25, 25, 25, 25.
As you enter weights, the editor will also show you what the odds of all traits currently are. If you don’t want to take the time to do the math, you can just keep editing the numbers until the percentages look about right.
Previews
Once you’ve created some layers and defined a few traits, you’ll be able to start previewing your project. This can be done by clicking the “Preview” button the left side of the screen.
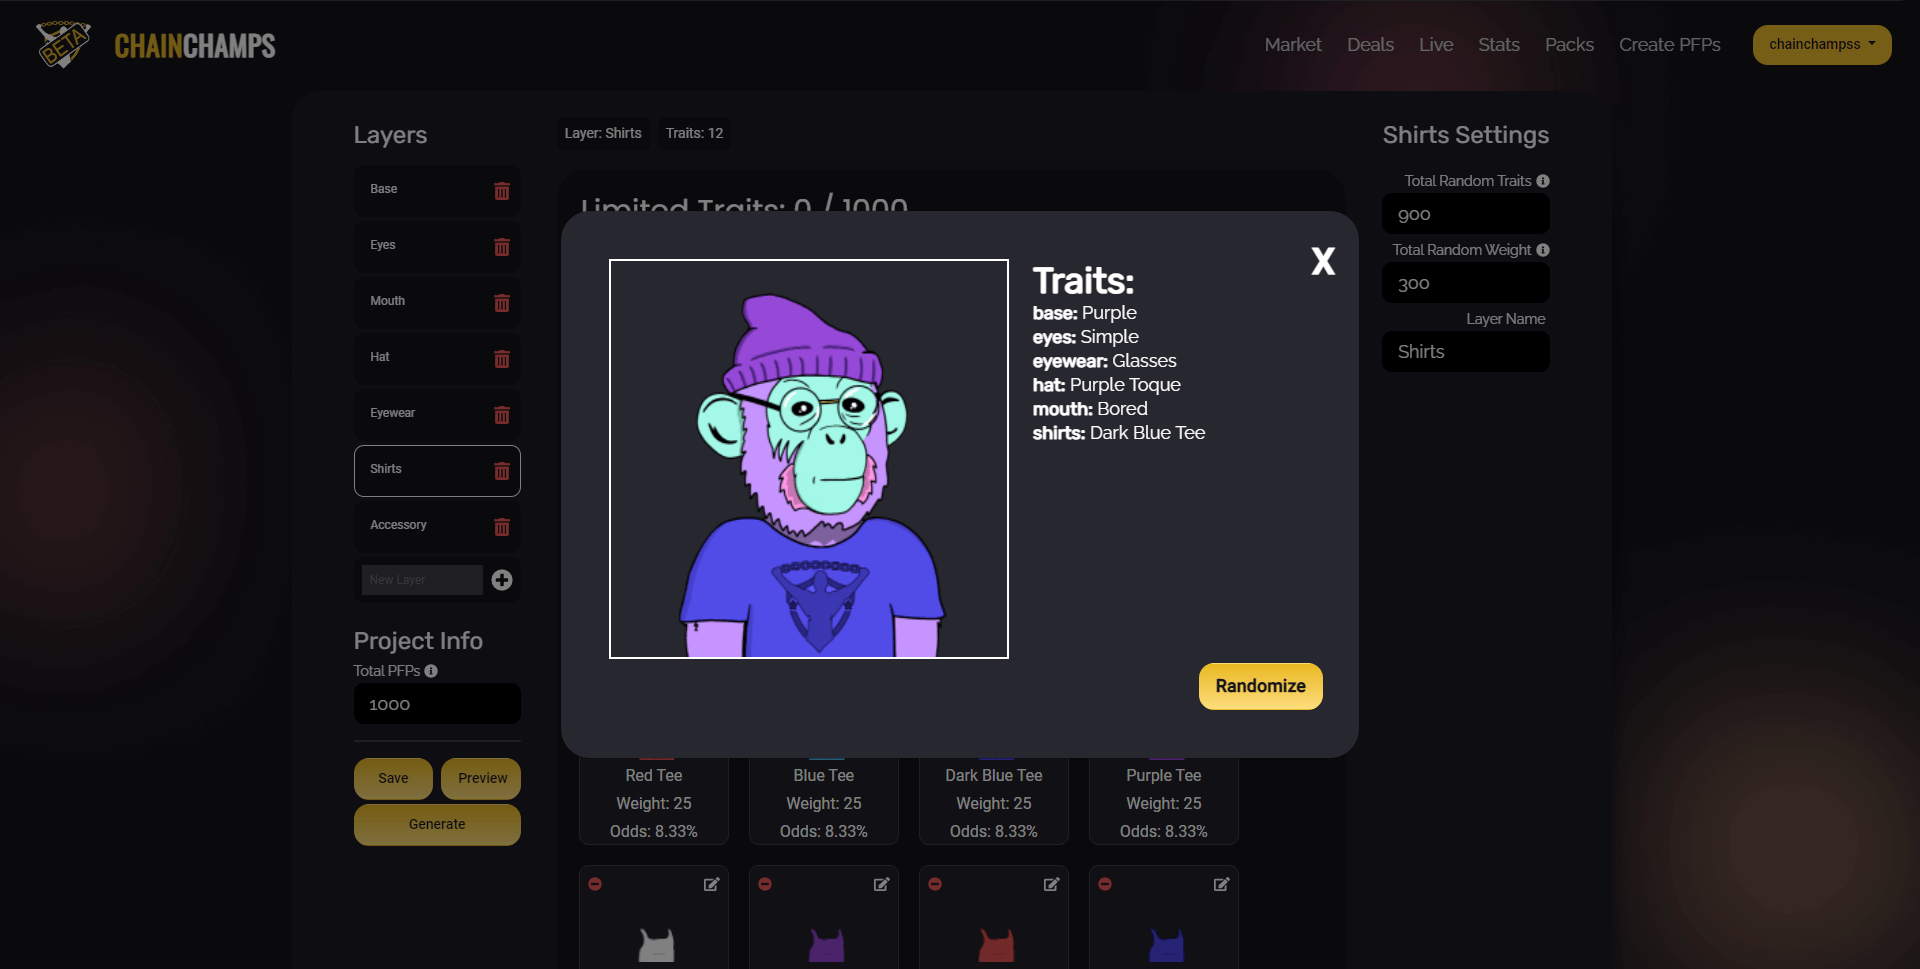
The previews generated will contain all information as it will usually appear on any NFTs that are minted. This will include the names of the layers as well as the name of the trait that was selected for the PFP.
We strongly suggested previewing your project regularly. This will give you a better understanding of how the layers and traits you’ve created fit together. If there’s a problem, it’s better to catch it before you generate 1000 PFPs.
Generating the Project
At this point you’ve created all of your layers, all of your traits, and set the “Total PFPs” value for your project. When you click the “Generate” button, you’ll be asked to confirm this. For the most part, once you start generating the project, there’s no turning back.
Depending on the size of the project and the size of the images, this may take seconds, minutes, or hours. Regardless, once you’ve started generating the project, it’s safe to leave the page and come back later.
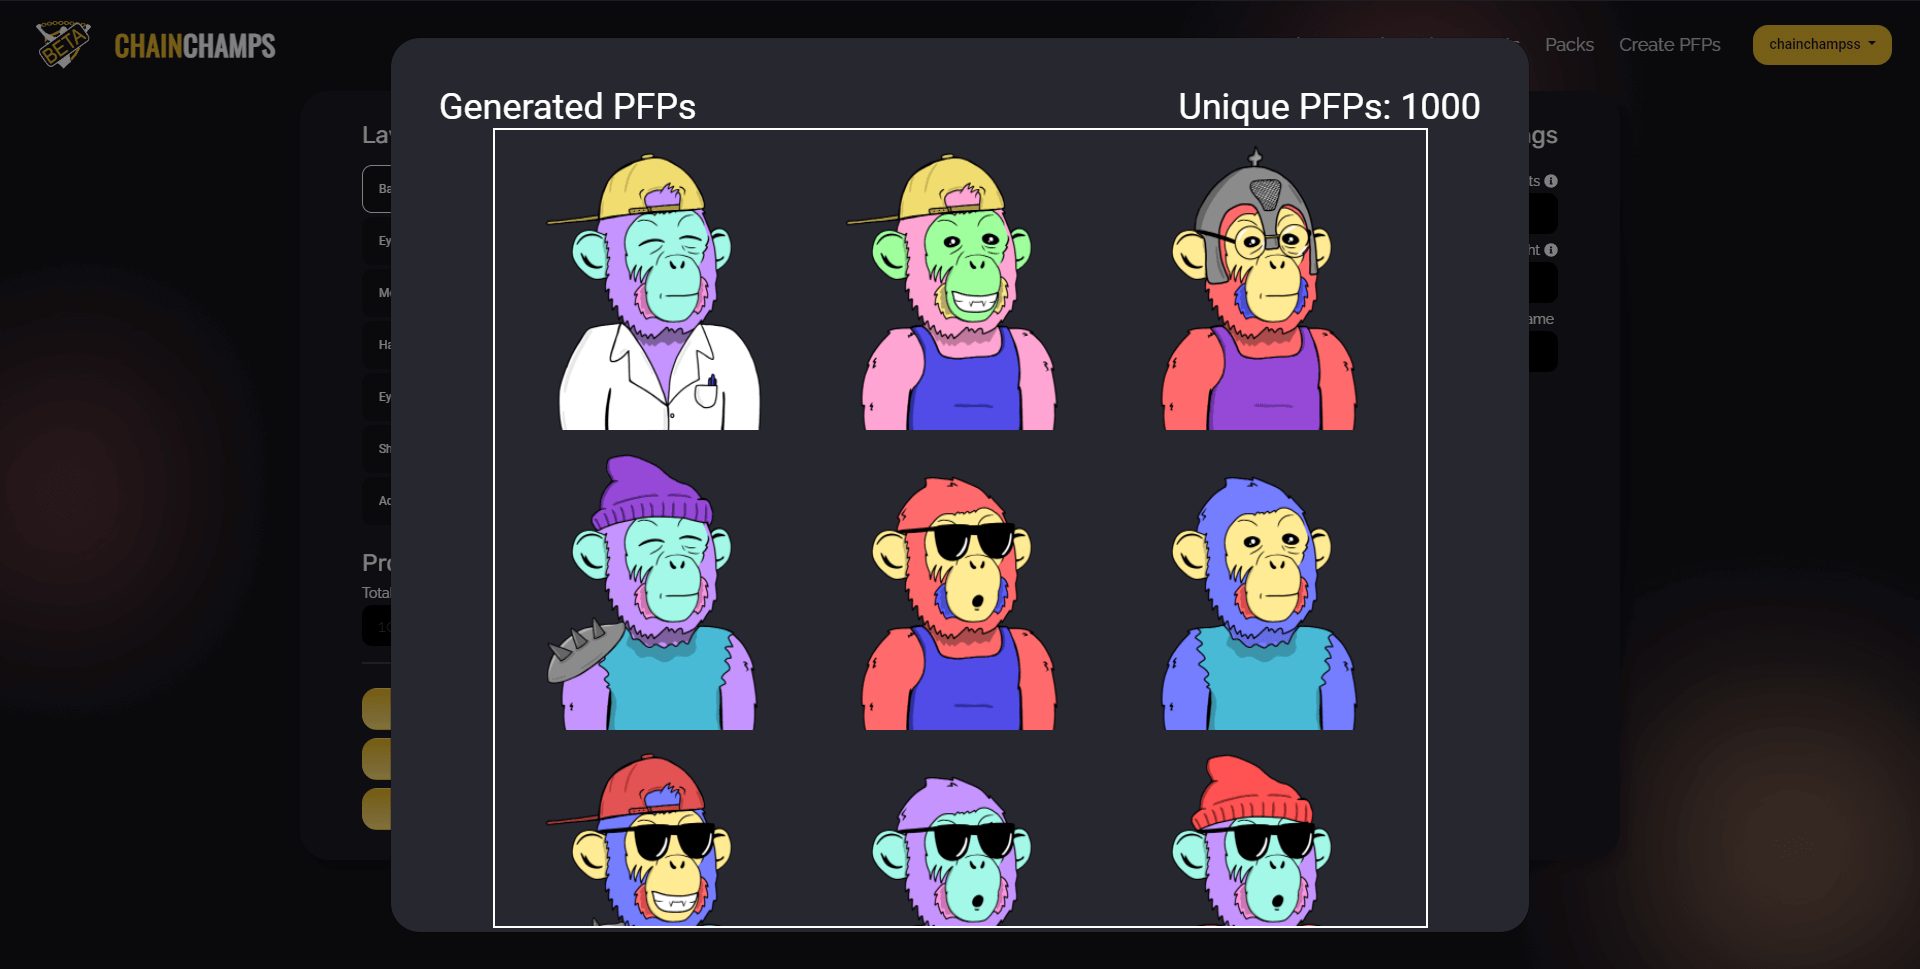
After all of that’s done, you’ll be able to view every PFP that was generated with the “View PFPs” button that is now available. Your PFPs will also be pinned to IPFS and available through the “View IPFS Info”.
What’s Next?
From here, you can download your generated PFPs and their associated metadata. This can be used to take your PFPs and mint them into NFTs.
We’ll cover the easiest way to mint your project with our Chain Champs NFT Maker tools soon. Or, if you already have a WAX collection setup, you can try the “Start Minting” button right away.
We hope this has helped you with your first steps to creating a truly unique digital art collection. If it did, please share this post and our tools on social media, or with anyone that may be looking to bring their art to the amazing world of NFTs.